 Get the newsletter
- Get your look book
Rain or shine, you and your kids will never get tired of looking at these cheerful bookends.
You will need:
- Plywood sheet approx. 5mm thick
- Bookend templates (download below)
- Scissors
- Pencil
- Scroll saw, jigsaw or similar
- Sandpaper
- Metal bookends
- Quick bond glue suitable for wood and metal
- Hot glue gun and hot glue sticks
- Resene testpots in colours of your choice – we used Resene Quarter Frozen, Resene Bali Hai, Resene Undercurrent, Resene Mellow Yellow, Resene Laser and Resene Pirate Gold
- Resene testpot brush
- Small artists paint brushes
- High quality painter’s masking tape
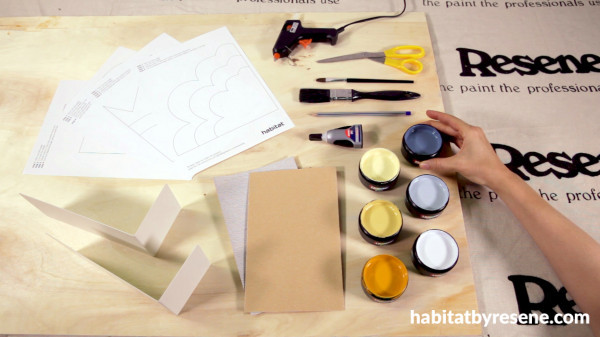
Step 1 Cut out the bookend templates (download below) using scissors then trace the shapes onto plywood with a pencil. To conserve paper, cut out the largest sun/cloud shape first, trace it on to the plywood, then cut into the template around the medium shape, trace it, then do the same with the smallest shape.
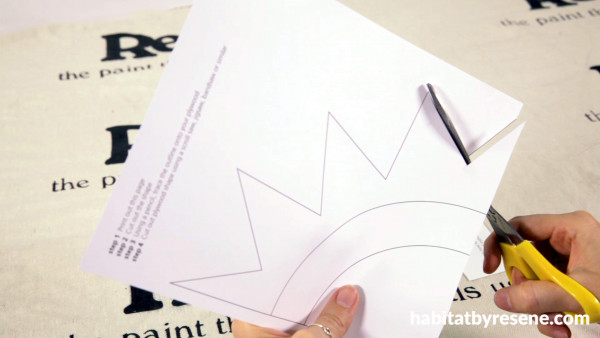
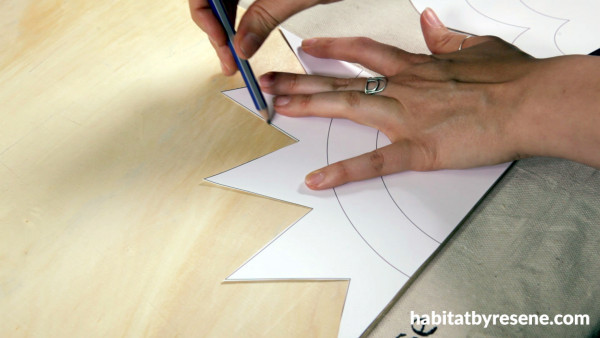
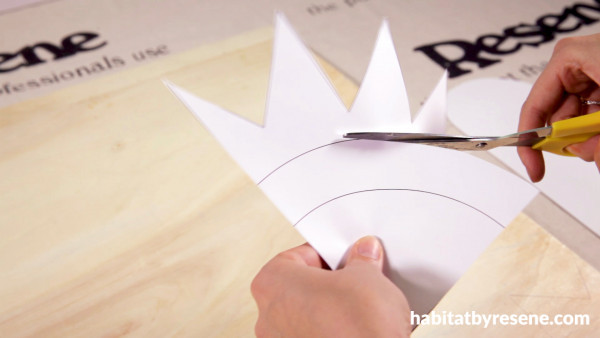
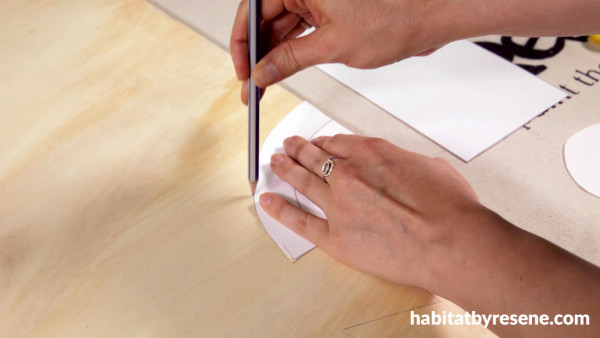
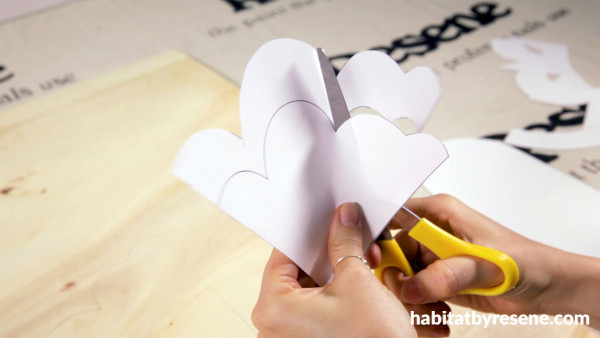
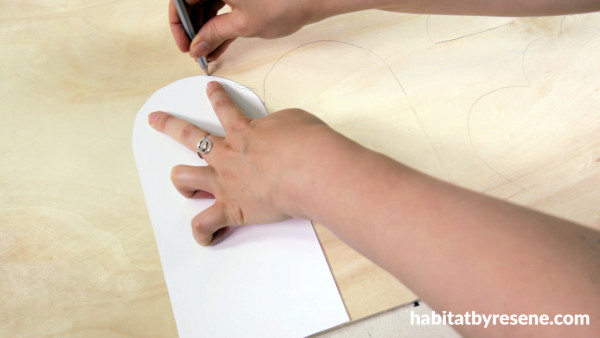
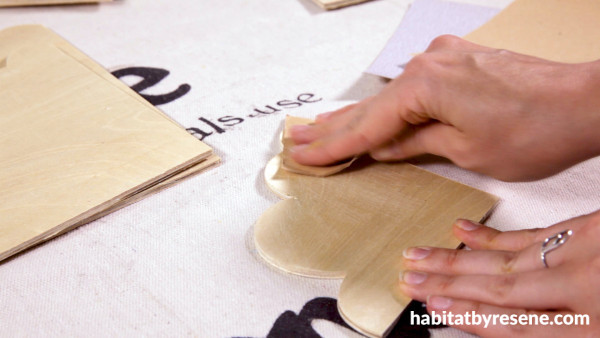
Step 2 Using a scroll saw, jigsaw or similar, cut out the shapes and sand down any sharp edges. Wipe away sawdust with a clean, dry cloth.
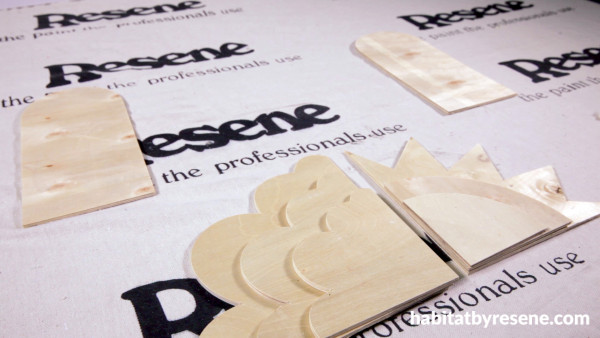
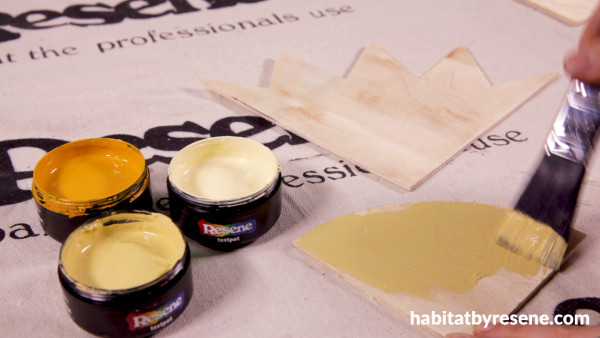
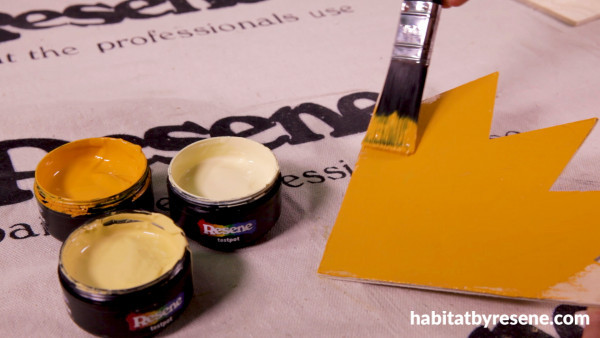
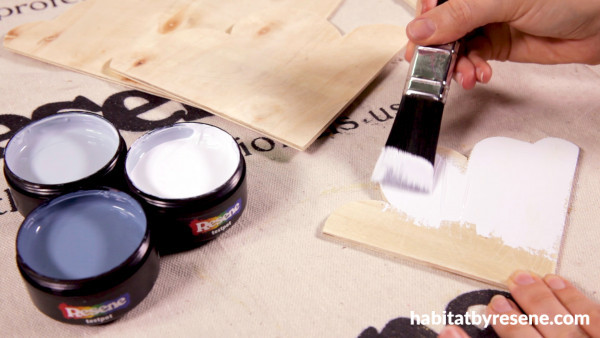
Step 3 Paint plywood shapes using Resene testpots in colours of your choice. We used Resene Quarter Frozen, Resene Bali Hai and Resene Undercurrent for the clouds, Resene Mellow Yellow, Resene Laser and Resene Pirate Gold for the sun and Resene Undercurrent and Resene Pirate Gold for the arches. For best results, apply paint in two coats and allow adequate drying time in between. If desired, you can use a hair dryer to help speed up the drying process.
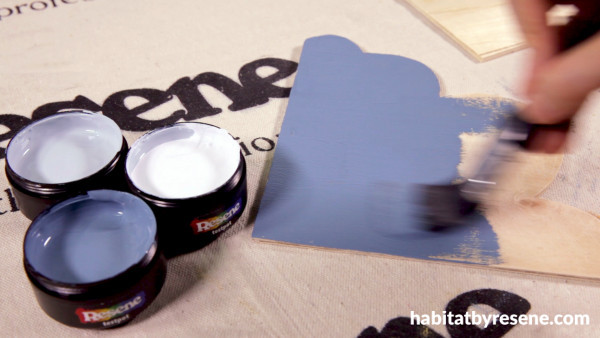
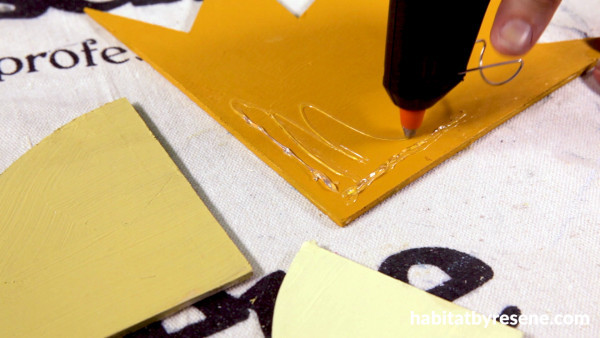
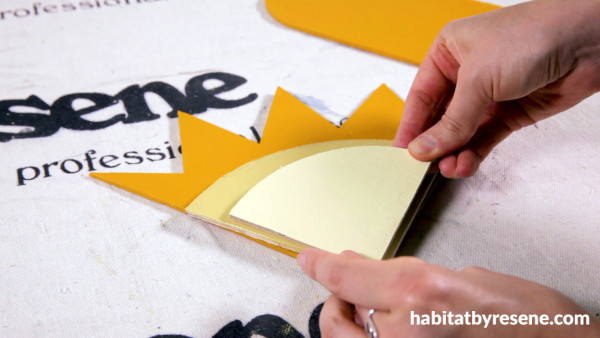
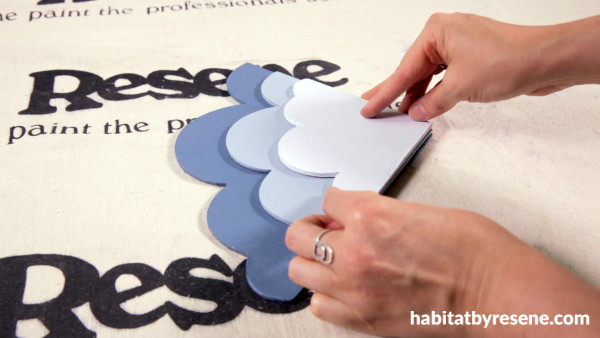
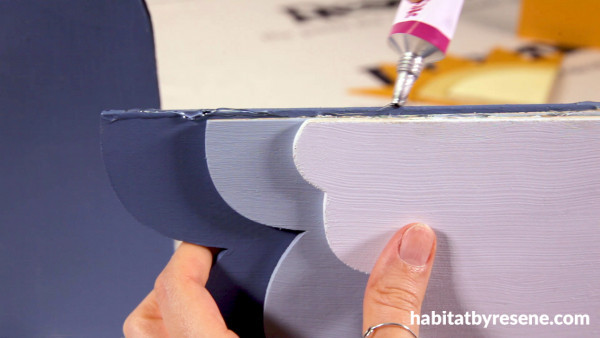
Step 4 Use a hot glue gun to glue the medium cloud on top of the largest cloud, aligning the corners, then glue the smallest cloud on top of the medium cloud. Do the same with the sun, working from largest to smallest.
Step 5 Using quick bond glue, stick each of the arches on to the vertical side of the metal bookends.
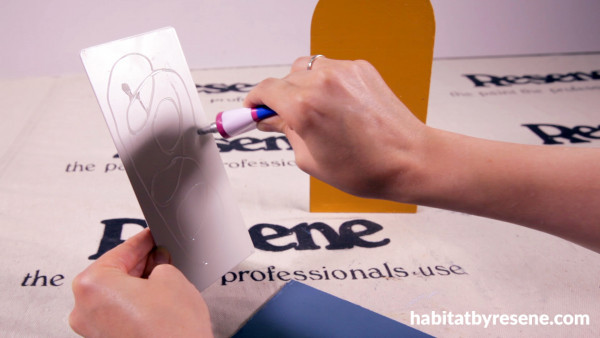
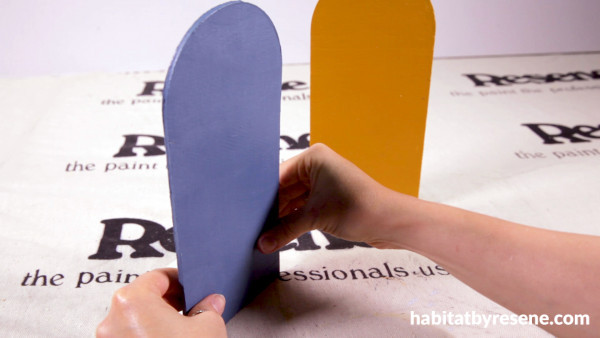
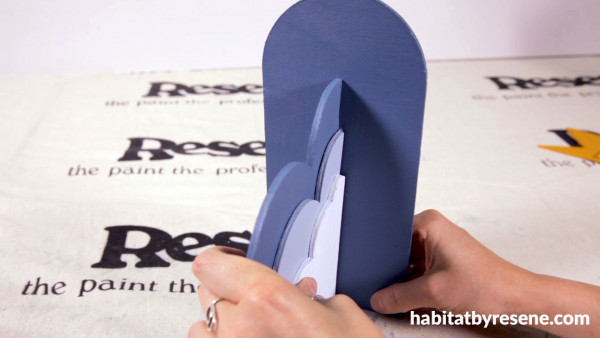
Step 6 Using hot glue or quick bond glue, apply glue to the vertical edge of the stacked clouds and stick it to the centre of the arch painted in Resene Undercurrent. Do the same for the sun, adhering it to the centre of the arch that is painted in Resene Pirate Gold. Allow your bookends to dry overnight to ensure the glue has set completely before using them.
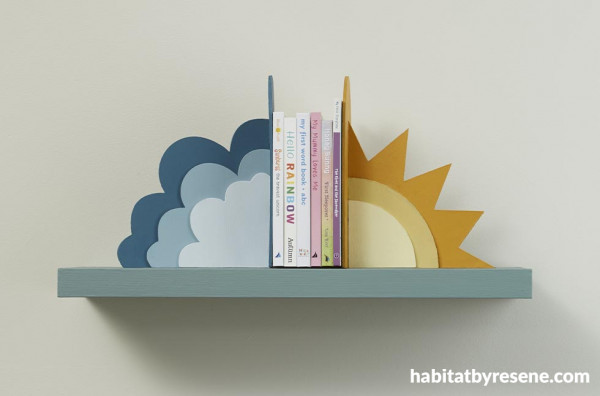
Wall in Resene Thorndon Cream, shelf in Resene Thor, cloud bookend in Resene Undercurrent, Resene Bali Hai and Resene Quarter Frozen and sun bookend in Resene Mellow Yellow, Resene Laser and Resene Pirate Gold
To print out the below templates, right click on each template and select 'save image as'. Save the image to your computer and then print them out on to A4-sized paper.
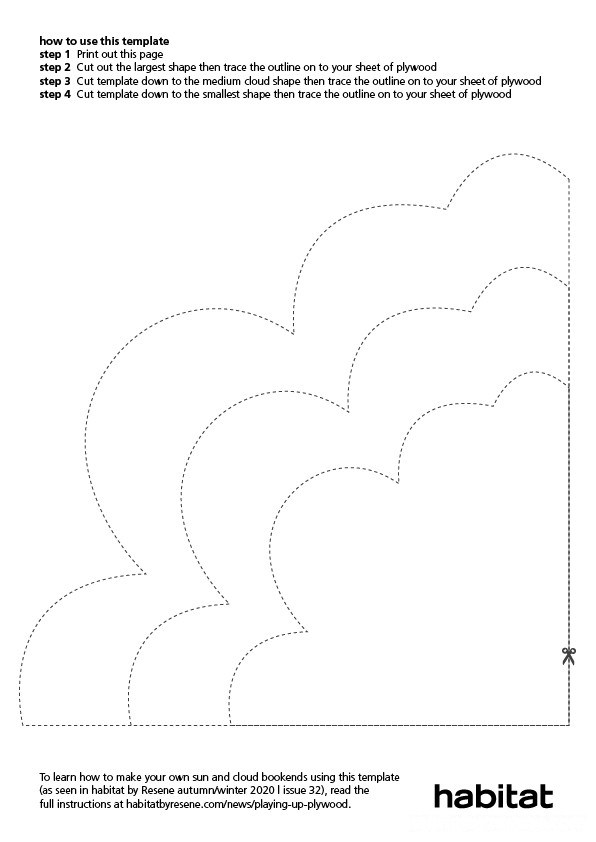
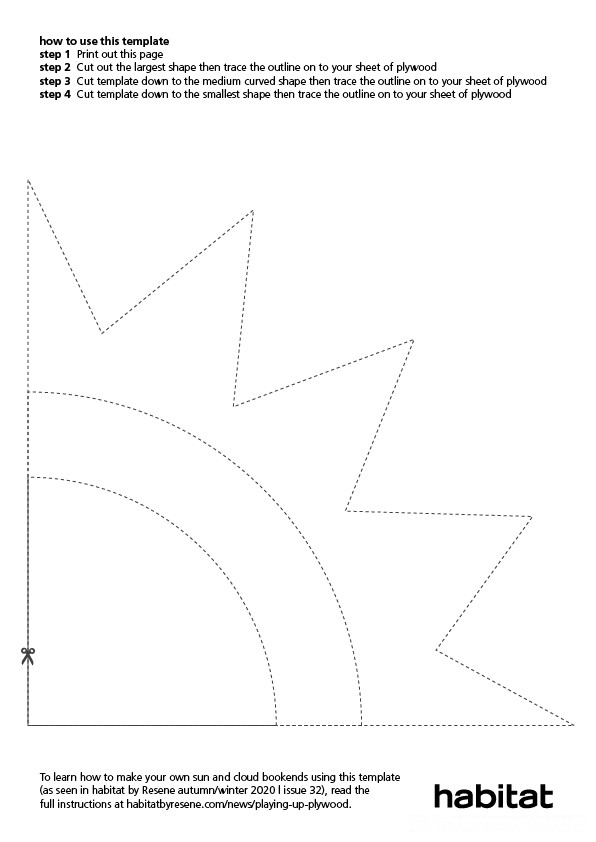
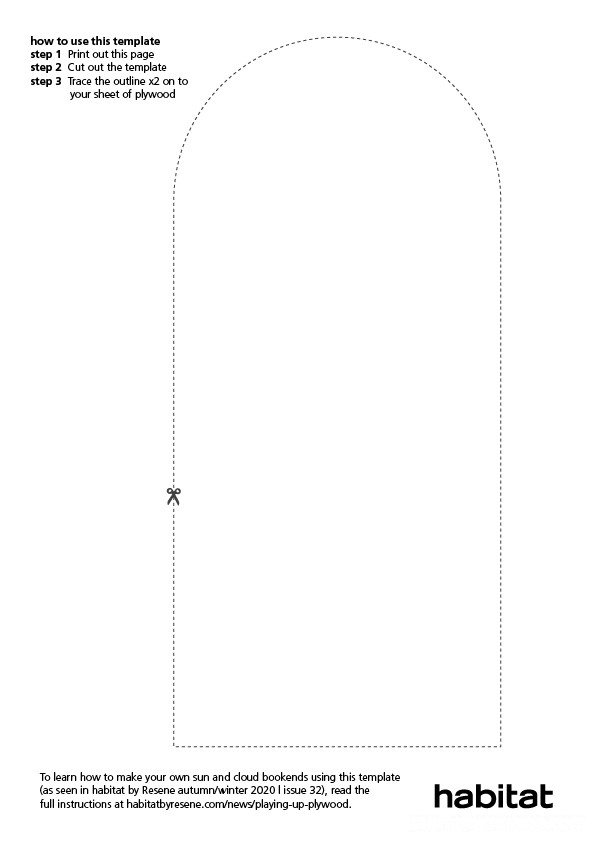
styling and project Laura Lynn Johnston
images Bryce Carleton, Ben Whorwood
video Ben Whorwood
Category: create with paint
Published on Jun 03, 2020
Latest Habitat TV Videos:

Published 1 year ago
Say goodbye to the morning scramble for keys, coats and sunglasses and hello to this…

Published 1 year ago
Entryways are usually the first impression visitors have of your home interior. This DIY organiser…


 look book