 Get the newsletter
- Get your look book
Use this fun string of colourful blocks to decorate a sailing themed kid’s room.
You will need:
- 8 or more 35mm3 wooden blocks (or timber to cut your own)
- Cotton string/rope
- Scissors
- Power drill
- High quality painter’s masking tape
- Small flat artist’s brushes
- Resene testpots in your choice of colours – we used Resene Raging Bull, Resene Tangaroa, Resene Pirate Gold, Resene Nero and Resene Double Alabaster
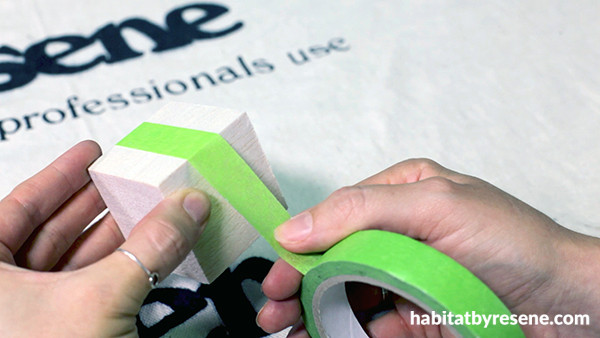
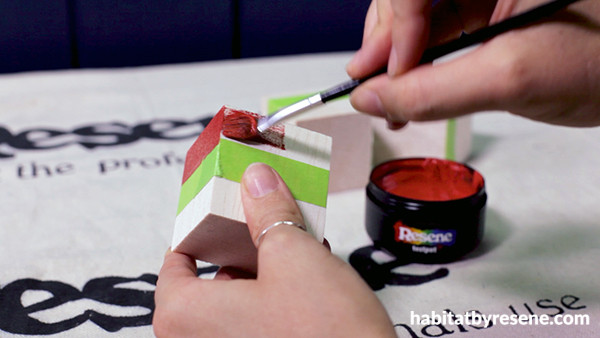
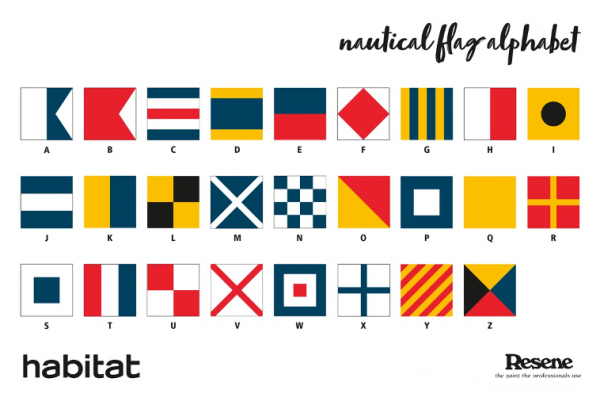
Step 1 Using high quality painter’s masking tape, mask off the areas of your wooden blocks that you would like to paint with your first colour. We decided to paint a random assortment of flags that we liked the look of, but since each flag represents a letter of the alphabet, you could even spell out your child’s name or a secret message. Use this graphic as a guide to their meanings:
Paint your first colour in two coats using a testpot in the Resene blue, red, yellow or white of your choice in two coats, allowing the first to dry to the touch before moving on to the next coat. We used Resene Raging Bull, Resene Tangaroa, Resene Pirate Gold and Resene Double Alabaster to paint our flags for a less traditional look. However, you could use Resene Bright Red, Resene Gorse, Resene Resolution Blue, Resene Black and Resene White for more vibrant versions of classic nautical colours.
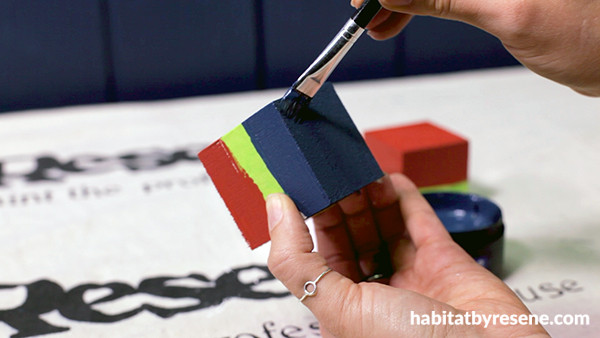
Step 2 Once your first paint colour has dried, remove the masking tape and apply new tape to block out the areas you will be painting in your second colour. Using a small flat artist’s brush, paint your second colour in two coats, allowing the first to dry to the touch before moving on to the next coat. To speed up the drying process, use a hair dryer.
Step 3 Repeat step two until each of your flag blocks have been completed. Since the blocks are three dimensional, we chose to paint our flags on at least four sides of our blocks so that they could be seen even if the blocks rotate on the finished garland. However, you could choose to paint your flags on all sides, or on one or two sides only and paint the other sides in solid colours.
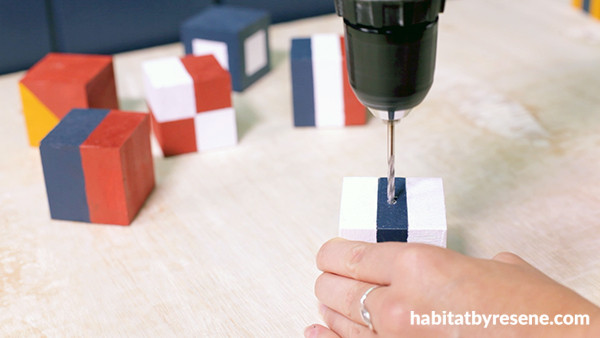
Step 4 Once your blocks are dry, using your power drill and a drill bit that is slightly longer than your block, slightly wider than your string and suitable for wood, drill holes through the centre of your blocks from one side to the other. Wipe away any sawdust with a clean, dry cloth.
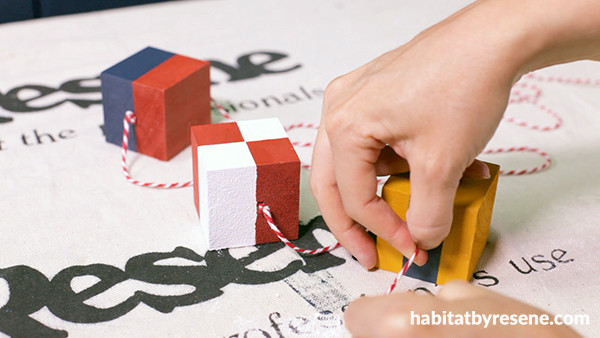
Step 5 Thread your length of string through the hole in one block and slide it to the centre. Then, tie a knot on each side of the block so that it will stay in place. If your string is very soft and you are having trouble feeding it through the hole, you can use a yarn needle to help.
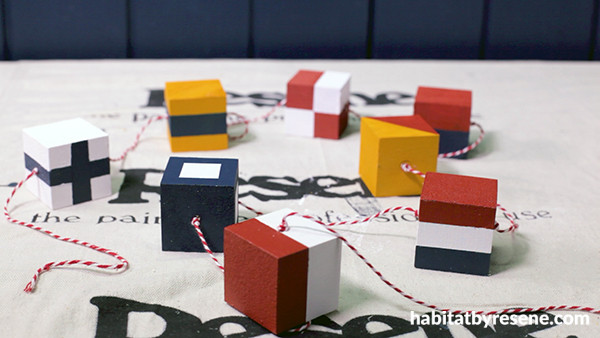
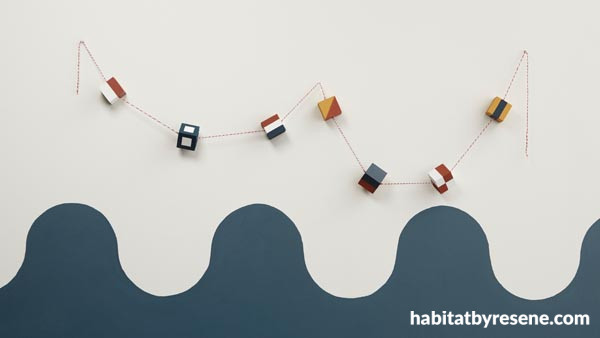
Step 6 Continue threading blocks on either end of your string and tying knots on both sides of each, leaving equally spaces between each block, until your garland is complete. Then, use your new garland to decorate your child’s headboard, drape it across the top of their bedroom window frame or above their desk.
Category: create with paint
Published on Sep 24, 2020
Latest Habitat TV Videos:

Published 1 year ago
Say goodbye to the morning scramble for keys, coats and sunglasses and hello to this…

Published 1 year ago
Entryways are usually the first impression visitors have of your home interior. This DIY organiser…


 look book