 Get the newsletter
- Get your look book

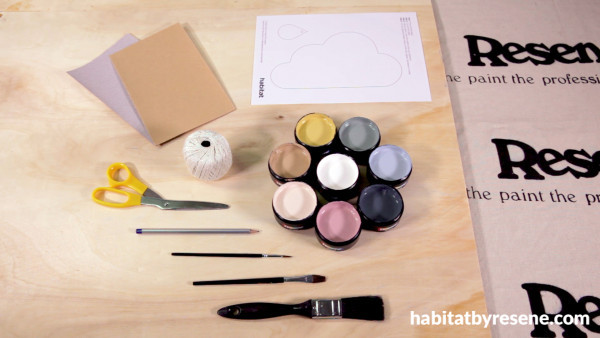
You will need:
• Plywood sheet approx. 5mm thick
• Mobile templates (download below)
• Scissors
• Pencil
• Scroll saw, jigsaw or similar
• Sandpaper
• Electric drill
• Resene testpot brush
• Small artists paint brushes
• String, twine or ribbon
• Resene testpots in your choice of colours – we used Resene Eighth Thorndon Cream, Resene Thor, Resene Laser, Resene Sandal, Resene Just Right,Resene Vintage, Resene Undercurrent and Resene Quarter Frozen.
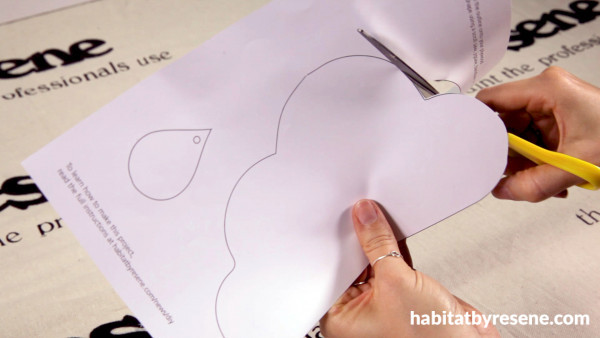
Step 1 Print out the mobile template and cut out the shapes. For a bigger cloud, print your template at a larger size and tape the sheets together before cutting them out. We printed our cloud at 250% and kept out raindrops at their original size for the mobile in our final image.
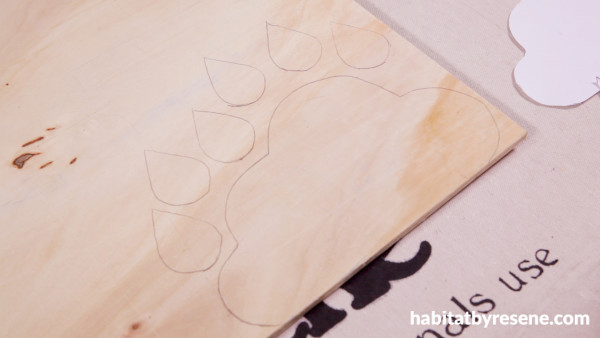
Step 2 Trace your cloud and raindrop shapes on to your sheet of plywood with a pencil. We traced 13 raindrops, but you can make as many or as few as you’d like. Cut out your shapes using a scroll saw, jigsaw or similar.
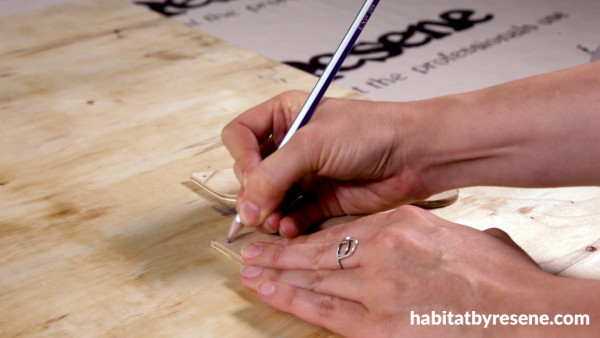
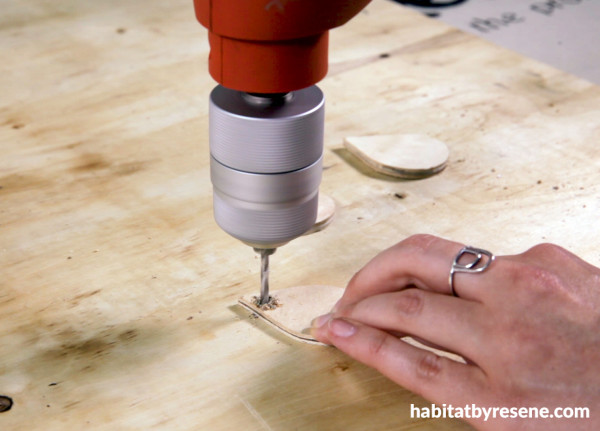
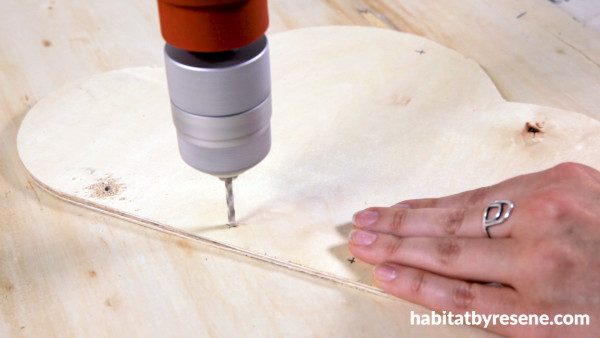
Step 3 Using a power drill, make holes in the tops of each of your raindrops, the top of your cloud and a line of holes across the bottom of your cloud – we made five holes along the bottom. It helps to draw an “x” in pencil to mark where you will be placing your holes before your start drilling.
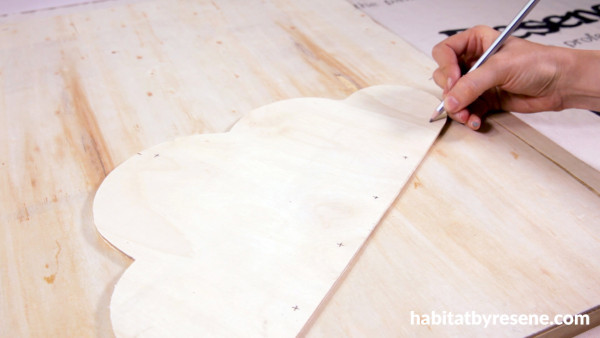
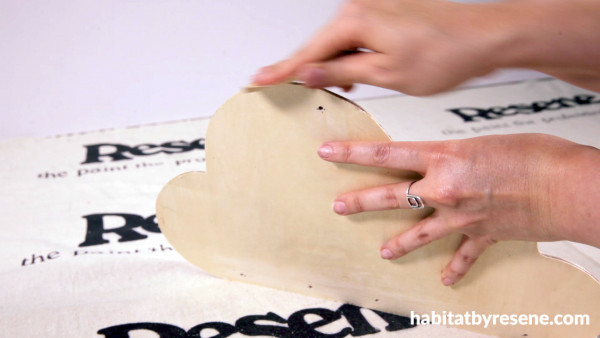
Step 4 Sand down the edges of your shapes to remove any rough edges or splinters. We started with 60 grit then used 120 grit to finish them. Wipe down your shapes with a clean, dry cloth to remove any dust before moving on.

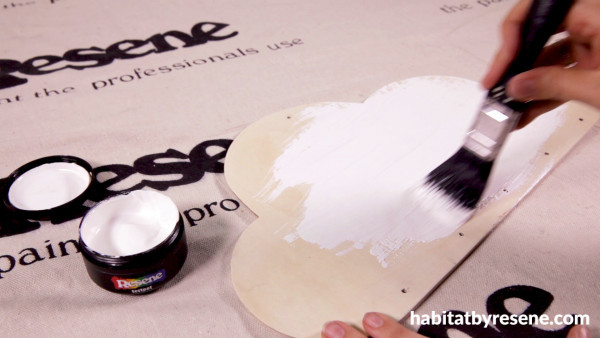
Step 5 Paint your cloud and raindrops using Resene testpots in colours of your choosing – we used Resene Eighth Thondon Cream for our cloud and Resene Vintage, Resene Just Right, Resene Quarter Frozen, Resene Thor, Resene Safehaven, Resene Laser and Resene Sandal for our raindrops. For best results, use two coats and allow your paint to dry fully between coats. To speed up the drying process, you can use a hair dryer.
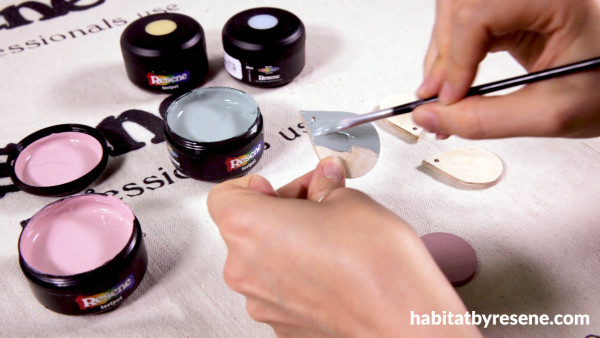
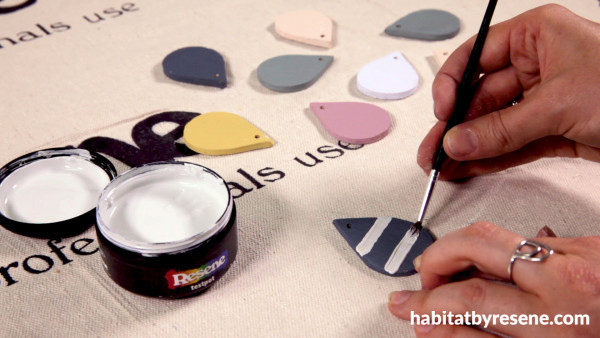
Step 6 Paint patterns on some of your raindrops, if you wish. We painted some with stripes and some with ticks. Allow your raindrops to dry completely.
Step 7 Using string, twine, thread, wool or ribbon, thread through the holes of your raindrops, knotting them on at even intervals, before knotting the end to one of the holes in the bottom of the cloud. We tied two strings with three raindrops each and two with two raindrops each.
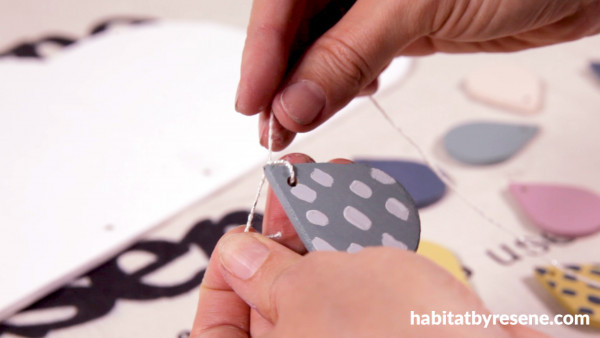
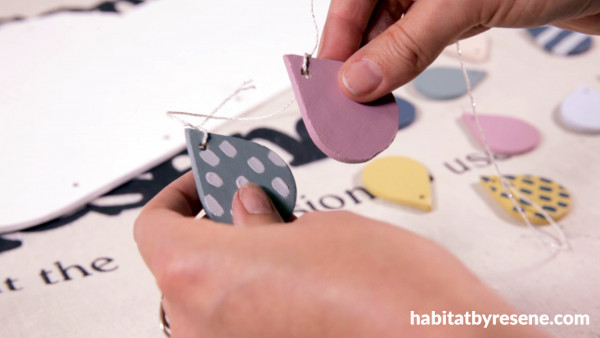
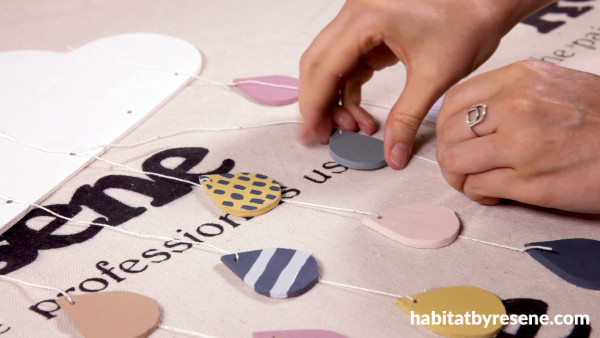
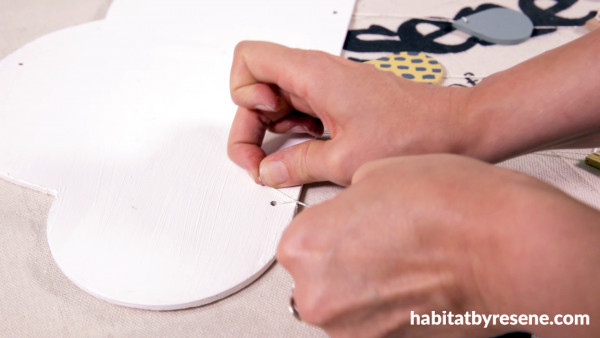
Step 8 Thread a long length of string through the top hole in your cloud, knotting it securely. Hang your mobile from your ceiling using the appropriate hardware and high enough that it will be safely out of reach of little hands.
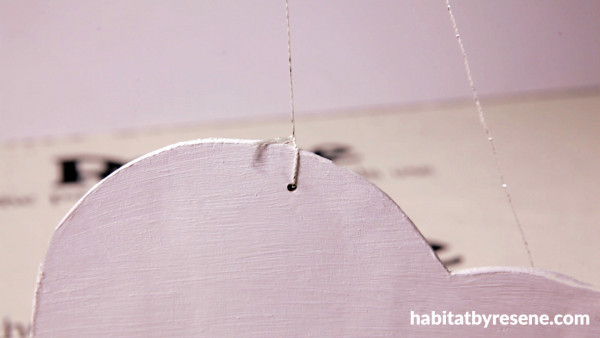

In our nursery, we painted our wall in Resene Thorndon Cream with clouds in Resene Eighth Thorndon Cream to match the cloud theme. The cloud mobile is painted Resene Eighth Thorndon Cream and the raindrops are in Resene Thor,Resene Laser, Resene Sandal, Resene Just Right,Resene Vintage, Resene Undercurrent and Resene Quarter Frozen.
project and styling Laura Lynn Johnston
images Bryce Carleton, Ben Whorwood
Category: create with paint
Published on May 13, 2020
Latest Habitat TV Videos:

Published 1 year ago
Say goodbye to the morning scramble for keys, coats and sunglasses and hello to this…

Published 1 year ago
Entryways are usually the first impression visitors have of your home interior. This DIY organiser…


 look book