 Get the newsletter
- Get your look book
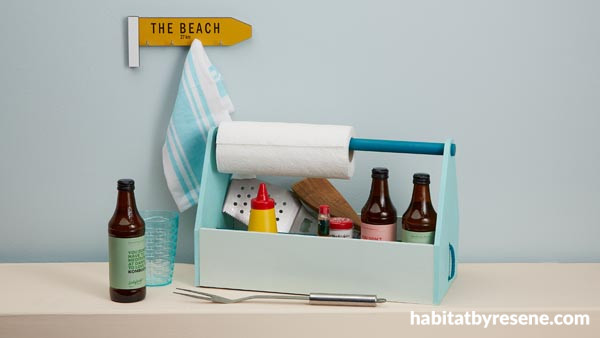
When you’re entertaining a crowd, it’s common to feel like you don’t have enough hands. Make it easy to transport the eating essentials to your table all in one go with this toolbox-style caddy to hold all your condiments. Not only will these make carrying things quicker and keep your table top tidy, they’ll also help reduce traffic to and from the kitchen and pantry so that you and your guests will have more opportunities to enjoy each other’s company.
Sides: Resene Aqua
Side panels / base: Resene Edgewater
Dowel: Resene Maestro
You will need:
- 1 Handypanel MDF 1200 x 900 x 9mm
- 20mm diameter dowel
- 5mm diameter rope
- Resene testpots in your choice of colours – we used Resene Aqua, Resene Edgewater and Resene Maestro
- Resene testpot brush
- Jigsaw or similar
- Electric drill with 20mm bit and 6mm bit
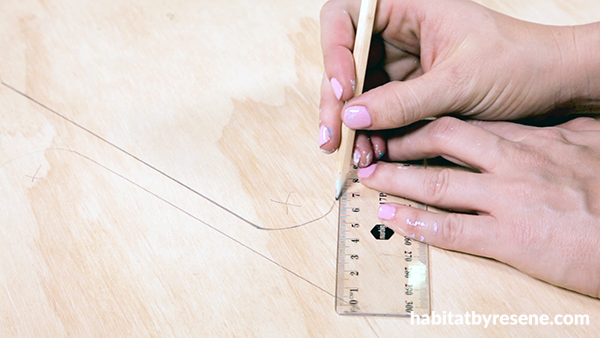
Step 1: Using a pencil and ruler, mark out the Handypanel sheet with the following measurements:
Sides: 200mm width, 260mm high, x 2 – either keep it rectangular in shape or get creative with the shape of the top (leaving enough space for a 20mm hole for the dowel at the top)
Side panels: 375mm length, 100mm height, x 2
Base: 375mm length, 200mm width, x1
Step 2: Carefully cut out with a jigsaw, keeping steady to ensure accurate cutting along your measurements.
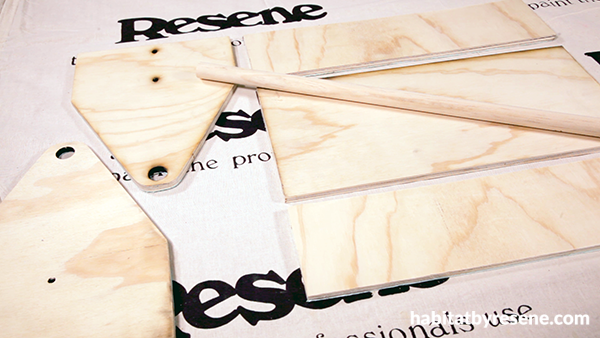
Step 3: With your pencil, mark a 20mm hole in the centre of the top of each side. Create the 20mm hole using an electric drill. This is where the dowel will be inserted. At the bottom, measure 2 x 6mm holes (these will need to be around 60-80mm apart for the rope). Mark with your pencil, then drill.
Step 4: Lightly sand the edges and drilled holes, going along the grain, then wipe down using a clean, dry cloth to remove any dust. Wipe down any nearby surfaces to avoid dust transfer.
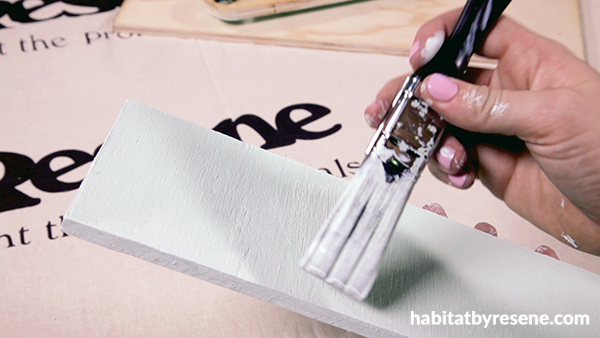
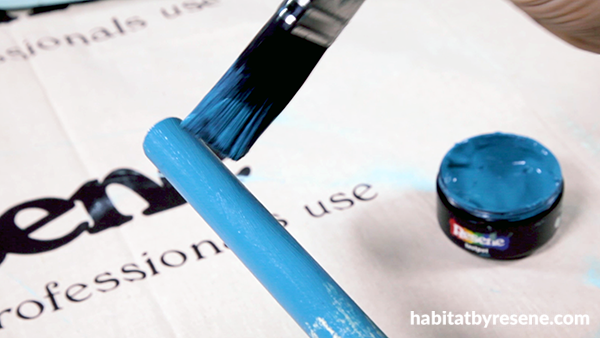
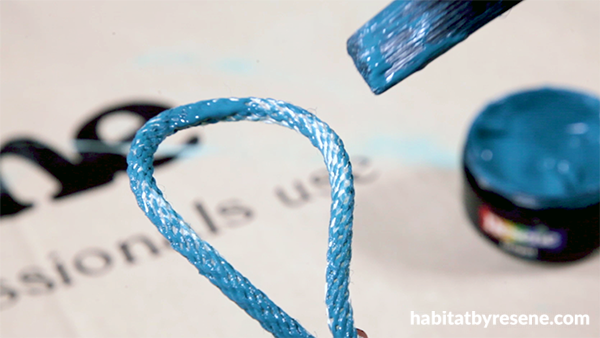
Step 5: Paint your pieces, dowel and rope in assorted Resene colours. We recommend painting one side of each first. Leave them to dry paint-side up before repeating the process on the other side.
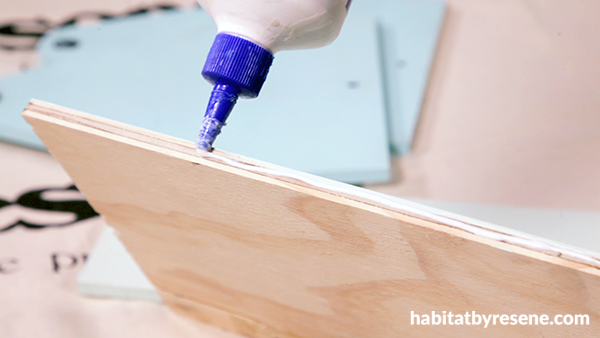
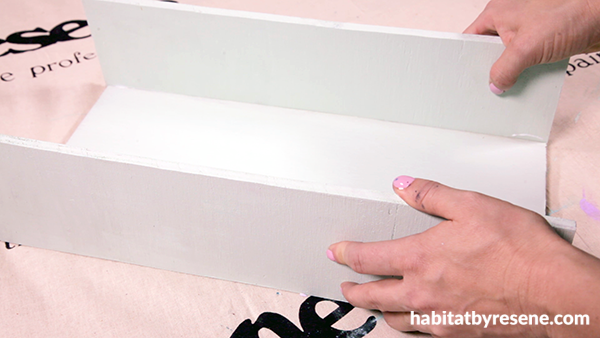
Step 6: Once all of your pieces are dry, use wood glue to apply the shorter side panels to the base. Using a hammer, fix them in place with nails, going through the front of the panels and into the sides and the base.
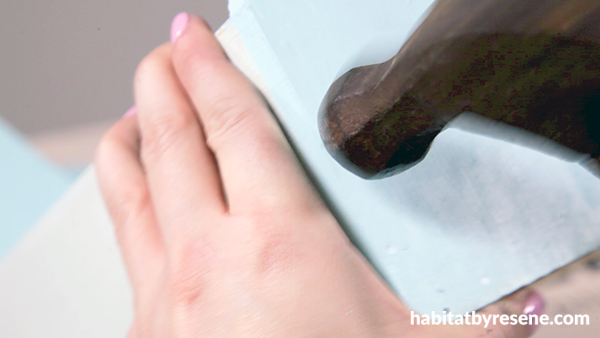
Step 7: Repeat this process with the longer sides, fixing them to the shorter side panels.
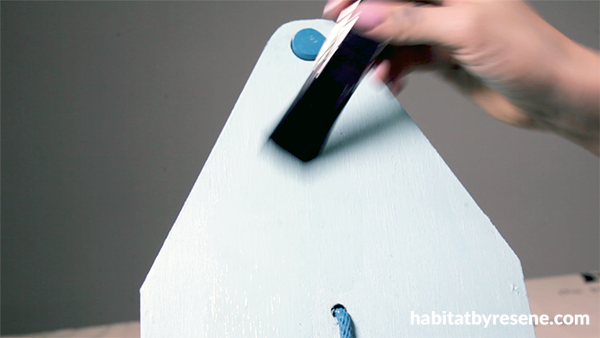
Step 8: Stir your Resene Aquaclear with a wide, flat stirrer, then evenly apply with a brush and leave to dry (allow for at least two hours between coats).
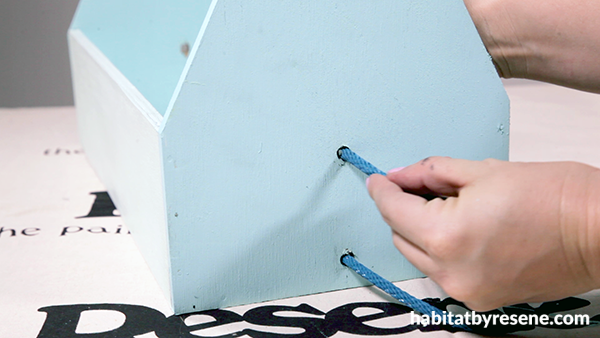
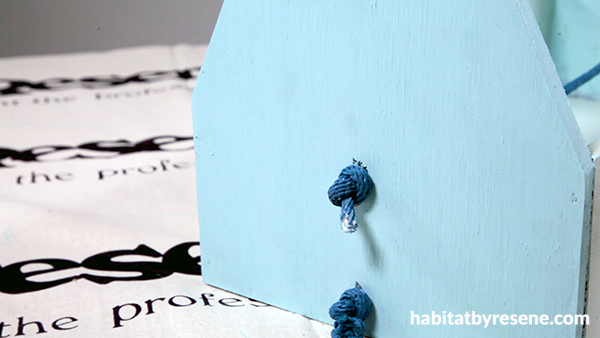
Step 9: String the rope through, then tightly knot.
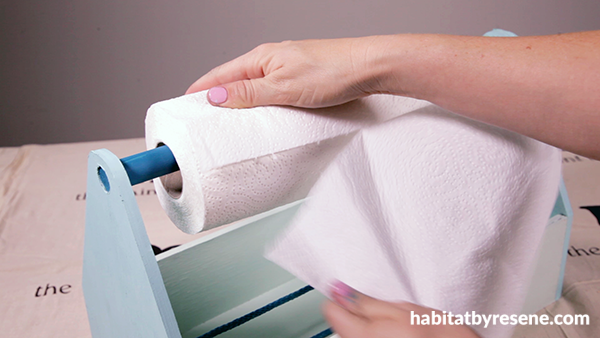
Step 10: Hang the paper towel on the dowel, then fix the dowel into the top holes. Fill with your favourite condiments, seasonings and serving tools at your next barbeque.
Category: create with paint
Published on Sep 25, 2020
Latest Habitat TV Videos:

Published 1 year ago
Say goodbye to the morning scramble for keys, coats and sunglasses and hello to this…

Published 1 year ago
Entryways are usually the first impression visitors have of your home interior. This DIY organiser…


 look book